Are you tired of waiting for the handyman to show up? Or perhaps you’re looking to save some money on home maintenance? Whatever your motivation, rolling up your sleeves and tackling home repairs on your own can be incredibly rewarding. In this guide, we’ll walk you through the basics of fixing leaks, patching walls, and unclogging drains. Not only will you gain confidence in your DIY skills, but you’ll also become the go-to repair expert in your household.
Fixing Leaks: The Drip Stops Here
Remember the time my kitchen faucet started dripping? The constant plink, plink sound was almost meditative until my water bill arrived. That’s when I realized the importance of nipping leaks in the bud. Here’s how you can too:
- Identify the culprit: Is it the faucet, the pipe under the sink, or maybe the showerhead?
- Gather your tools: You’ll typically need a wrench, some plumber’s tape, and possibly a new washer.
- Turn off the water supply: This is crucial unless you want an impromptu indoor fountain.
- Disassemble, inspect, and replace: Often, a worn-out washer is the villain. Swap it out, and you’re good to go.
Leaks don’t wait for anyone, and with these steps, you won’t have to wait for leaks to take control of your peace of mind.


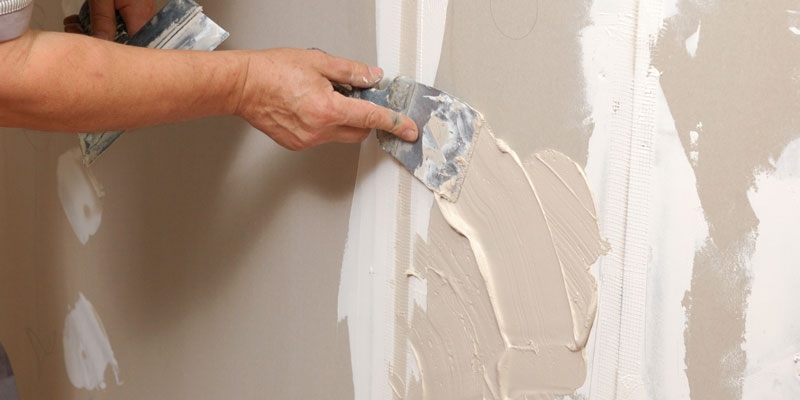
Patching Walls: Erase the Wear and Tear
Walls tell stories, but sometimes they scream for a makeover, especially when there’s a hole where there shouldn’t be one. I learned to patch walls when my son decided our hallway needed a “window” – the artistic expression of a baseball. Here’s a simplified process:
- Clear the area: Remove any loose debris around the hole.
- Apply spackle: Use a putty knife to fill in the hole with spackle. For larger holes, you may need a patching kit.
- Sand it smooth: Once dry, sand the area until it’s flush with the wall.
- Paint: Match the paint, and give it a coat.
Voilà! The wall is as good as new, and your home’s story can continue, hopefully with less “artistic” additions.
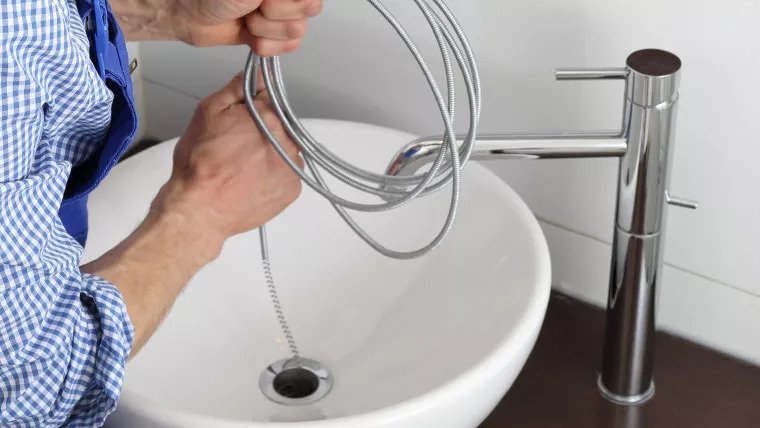
Unclogging Drains: Keep the Flow Going
A clogged drain can turn a serene bathroom into a swamp of inconvenience. I faced this ordeal last summer, and the satisfaction of clearing it out was better than solving a crossword puzzle. Here’s how to tackle it:
- Use a plunger: This old-school tool can work wonders.
- Chemical cleaners: There are eco-friendly options that do the job without harshness.
- Snake it out: A drain snake can be your best friend in pulling out whatever’s causing the blockage.
Remember, regular maintenance can prevent these clogs from happening in the first place. A little baking soda and vinegar down the drain monthly can do miracles.
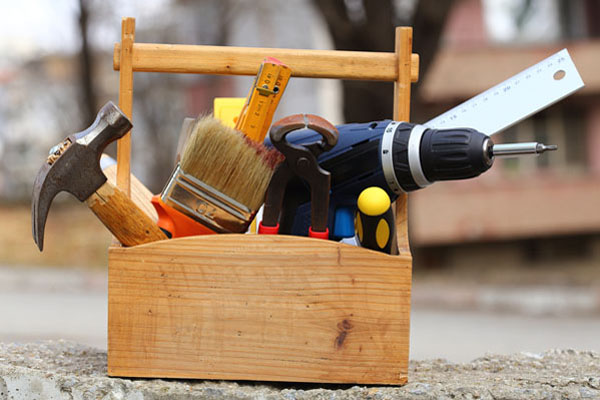
The Handy Homeowner’s Toolkit
To make these repairs, you’ll need a basic toolkit. Here’s what I suggest:
- Adjustable wrench
- Plumber’s tape
- Putty knife
- Spackle
- Sandpaper
- Paint and brush
- Plunger
- Drain snake
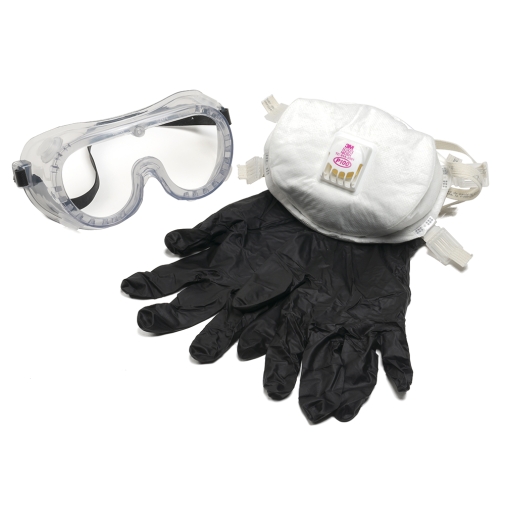
- Safety goggles and gloves
Having these tools at your disposal is like having a home repair shop in a box.

Your Turn to Shine
Now that we’ve covered the essentials, it’s your turn to put these skills into practice. Remember, the key to successful DIY home repairs is patience, the right tools, and a bit of know-how. Every repair you do adds to your experience and confidence.
Don’t forget to share your DIY journey in the comments below. What was your most memorable home repair? What tips can you share with fellow readers? Let’s build a community of capable, handy homeowners!
Your home is your castle, and with these DIY repair skills, you’re well on your way to becoming its knight in shining armor. Keep up the good work, and happy repairing!
Leave a Reply